This is the documentation draft for the page "Annotating videos" of the manual. (Generalities about the UI, there are other more detailed pages for the tools).
The first post contains the documentation that will be synchronized with the manual and you can post comments to add feedback or discuss points that are unclear.
-------------------------------------
Introduction
Annotation tools are used to add drawings, text and images to the video. Some tools can also be used to measure times, angles or distances.
Drawings are attached to a specific key image. Deleting the key image deletes all the drawings attached to it.
Drawings are vector-based: they can be modified after they have been added to the video.
Drawings have a context menu that can be used to access tool-specific functions, copy and paste, and deletion.
Background layer
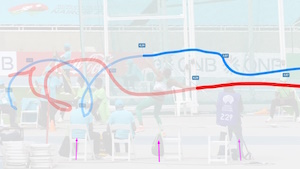
The background layer sits between the video image and the drawings. It can be used to make the drawings more visible against the video or, at full opacity, show only the annotations and trajectories on a plain background.
To change the background layer color and opacity right click in the background of the video and choose Background… This option is also available in the main menu Tools > Background…
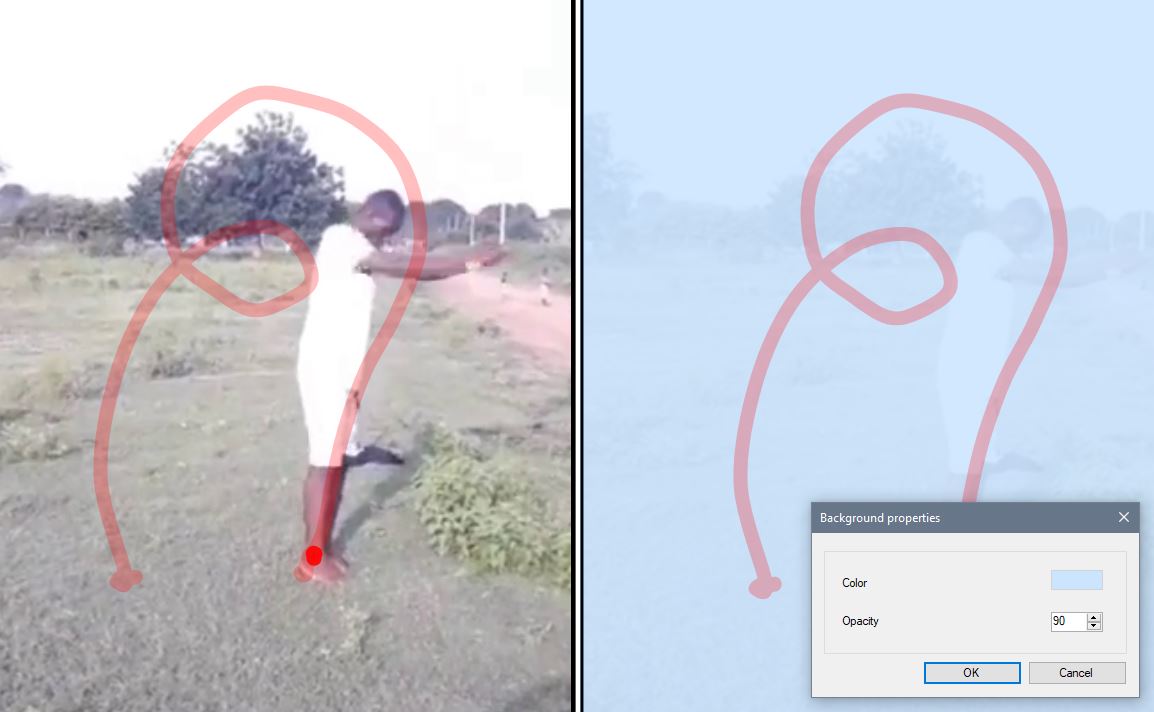
Ankle trajectory during a standing double back flip.
Tool bar
The tool bar is found under the main viewport.

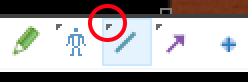
There are more tools than those immediately visible. Buttons with a small arrow in the top-left corner contain other tools that can be accessed by doing a right click or a long click (click and hold) on the button.
General tools
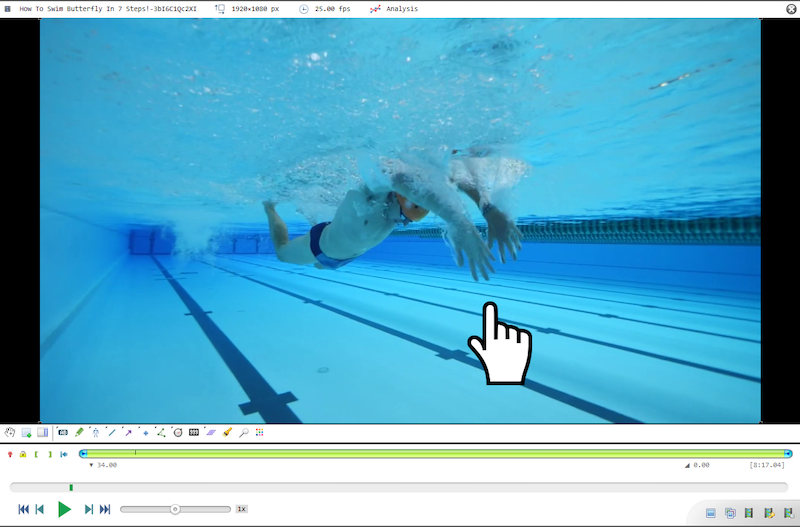
Hand
The hand tool is used to manipulate drawings or pan the whole image. To stop using a particular tool and come back to the hand tool use the Escape key or click the hand tool button.
Tip
You can also use the middle mouse button to directly manipulate drawings without changing back to the hand tool.
For presentation purposes the hand tool can use a large image instead of the normal cursor. To enable this mode go to the main menu Options > Pointers, and select a pointer from there. This list of image-based pointers can be customized by adding new images to the "Pointers" directory under application data.
Add a key image
Adds a new key image at the current time.
See also: Key image management.
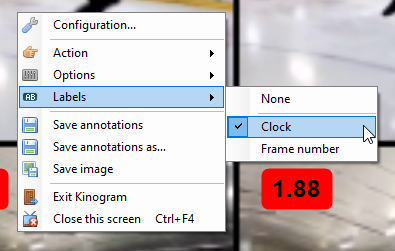
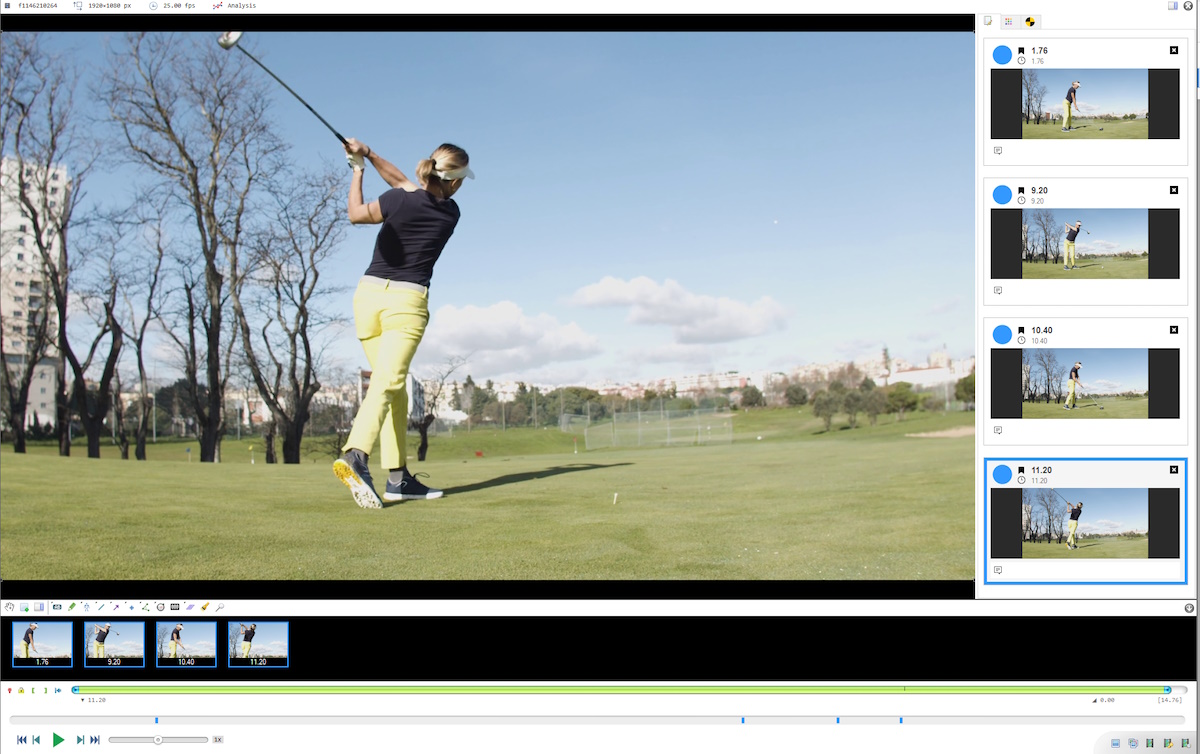
Show comments
The show comments button opens the side panel at the key images and comments tab, which lets you change the key image title, color, and add comments under the thumbnail.
See also: Key image management.