In the meantime you could use the ability of Kinovea to call an external program after each recording, which is a great and versatile feature of Kinovea.
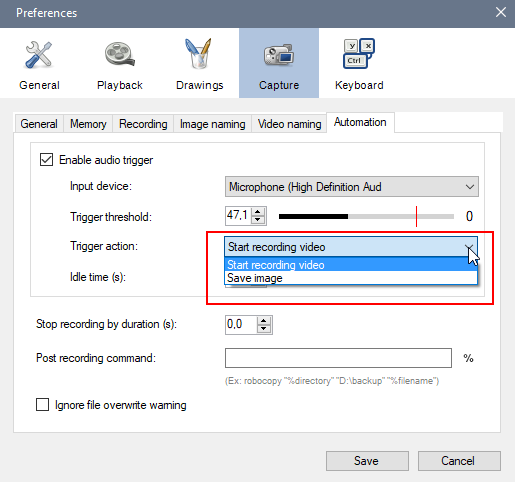
It can be found under: Options/Automation/post recording command
To extract an image frame from the video at a selected time position, ffmpeg.exe may be used in conjunction with a „batch“-file (windows files having the extension „bat“, serving as a simple command processor).
See below the content of a batch-file named EFsecond.bat (ExtractFrame using seconds)
The batch-file contains a final command using ffmpeg to extract an image frame out of a video.
To use this batch file you might:
- download FFMpeg and install to a directory (in the example: d:\ffmpeg\bin\ffmpeg.exe)?Go to ffmpeg.org and search for „Get packages & executable files“ to download an actual version compiled for windows. FFmpeg is free of charge.?if a different installation-directory is used, modify the line „set ffmpegexe=…“ in the batch-file according to the full path of your ffmpeg.exe - location
- Create a directory to contain the batch-file (in the example: d:\batch)
- Create a file that is named EFsecond.bat and copy the lines below to it.?Create a directory (your directory) the extracted images should be saved (in the example: c:\images)?set this value to the line: set targetdir=„your directory“?(do not use quotation marks or spaces after the „=„ and be sure the directory exists?Save the file. Be sure that the extension of the file is „bat“
- Open your Kinovea instance and go to the inputfield „post recording command“ in options
- Type in: d:\batch\EFsecond.bat %directory %filename s.ms?(s.ms means: second.milliseconds, i.e. 1.5 to extract the frame at the position 1.5 seconds. Use a DOT, not a Comma as decimal separator)
Now, after each recording, an image frame is extracted from the video and store in the image directory. Naming of the image is: SourceVideo.ext.JPG.
The batch-file may be modified to further needs.
Reiner
Some hints on Framerate in relation to the target frame to extract:
To extract a specific frame, you could calculate the seconds from the target frame.
Example: The resulting video has a frame rate of 120. So each frame „consumes“ a time of 1/120 seconds = 0.00833 seconds. To extract the 255. frame of the video, the time-value has to be 255*0.00833 = 2.124 seconds.
If you use a higher frame rate take into account the framerate-replacement feature of Kinovea. It is defined in the settings (Options/Capture/Recording):
Example: A Video is recorded using 200 fps for 2 seconds. FPS-replacement is set to 30 fps. FFmpeg will see the resulting video as a video having 30fps with a duration of (200/30 * 2.0) 13.3333 seconds. To catch a frame at the „real“ position of 1.5 seconds, a value of 1.5 * 200/30 has to be used: 10 seconds.
Dropped frames are not taken into account here. Furthermore, the exact target frame may not always be at the same location inside the movement due to some microseconds delay to the sound trigger.
Content of EFsecond.bat:
@echo off
REM ===== Extract an image frame out of a video at a specified time location (seconds.milliseconds)
REM ===== Example used in Kinovea/Options/Automation/post recording command:
REM ===== d:\Batch\EFSecond.bat %directory %filename 1.0
REM ===== Parameters in use
REM %1 contains directory, Kinovea: %directory
REM %2 contains filename, Kinovea: %filename
REM %3 timeposition to extract frame, if omitted uses 0.0 (first frame)
REM ===== Modify these parameter-values according to your setup
set ffmpegexe=d:\ffmpeg\bin\ffmpeg.exe
set targetdir=C:\images
set timepos=0.0
IF "%3"=="" GOTO Final
set timepos=%3
:Final
%ffmpegexe% -y -ss %timepos% -i %1\%2 -frames:v 1 %targetdir%\%2.jpg